Buying heavy duty construction equipment is not a matter of choosing the biggest machine or the lowest price. The right purchase starts with the work: a loader moving wet soil on a tight site faces different demands from an excavator working long shifts in rocky ground. Buyers should compare operating weight, reach, payload, fuel use, service access, and the dealer’s parts support. Small details matter. A filter that is hard to reach can add time to every service stop.
Equipment-management author Mike Vorster’s work offers a useful buying principle, paraphrased here rather than presented as a verbatim quotation: “Choose equipment for the work it must perform, and judge it by the costs it carries over time.” That means checking expected hours, transport needs, operator comfort, warranty terms, and likely resale value—not just the purchase price. Ask for service records on used machines, inspect wear points, and test controls in conditions close to the real job. A polished sales yard is not a jobsite.
These ten tips will help buyers make a more informed decision about heavy duty construction equipment, whether they are adding one machine or replacing a fleet unit. No checklist can remove every risk. A specification sheet may look perfect, yet local parts availability can change the economics. That deserves a second look. The aim is not to find a flawless machine; it is to find one that fits the work, budget, and support network with fewer costly surprises.
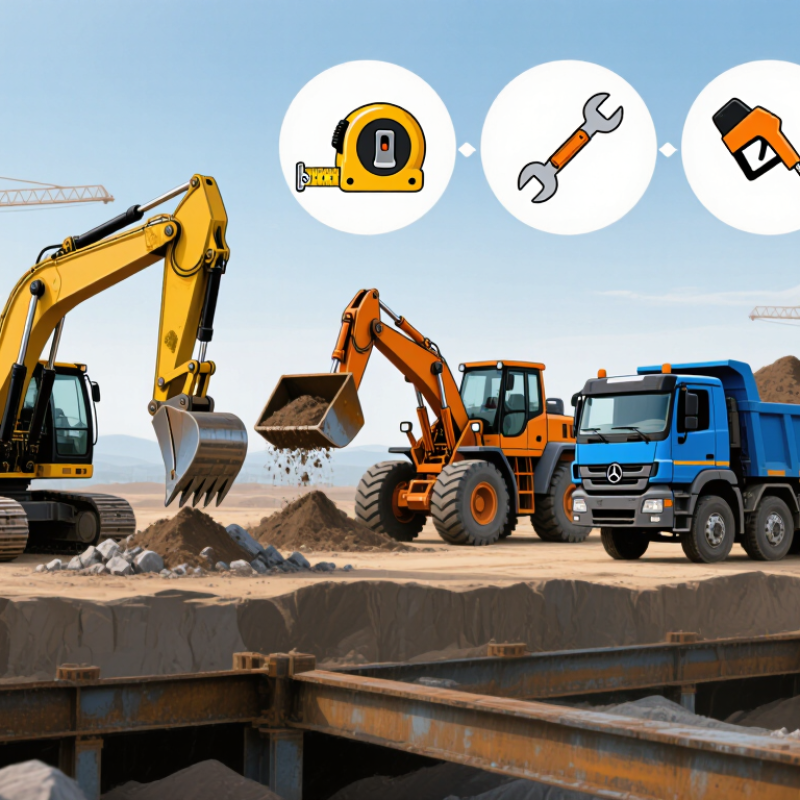
Before comparing machines, define the work in measurable terms. Note material type, daily volume, digging depth, lifting height, and expected operating hours. A trenching job in compact clay calls for different capabilities than moving loose gravel across a level pad. Small detail. Big cost.
Walk the site and record slopes, soft ground, overhead obstructions, gate widths, and access routes. These conditions can rule out equipment that looks suitable on paper. Check rated capacity at the required reach, not just the maximum number in a specification sheet. Lift capacity can drop sharply as the load moves farther from the machine. Confirm ground pressure and transport dimensions, too.
Then match each task to an equipment type and attachment. An excavator may handle digging and loading, while a loader can move material efficiently over short distances. If one machine must do several jobs, compare attachment changes, setup time, and operator visibility. I have seen plans assume a quick bucket swap, only to find the needed attachment unavailable on site. That is worth checking early. Review the operator manual and load charts, and ask a qualified equipment professional to verify the match when loads or ground conditions are uncertain. A site estimate can be wrong; revise it after conditions change.
Use operating weight as an initial planning comparison when matching equipment to site access, ground conditions, lifting needs, and workload. Values shown are approximate midpoints of common equipment ranges: mini excavators (1–6 t), backhoe loaders (7–12 t), wheel loaders (10–20 t), standard excavators (20–30 t), and bulldozers (20–40 t). Actual specifications vary by model and configuration; confirm them before choosing equipment.
Compare rated capacity with the actual job, not a sales description.
For a loader, check bucket capacity, operating weight, lift height, and tipping load. For an excavator, match digging depth and reach to the trench or footing dimensions. Lifting capacity also changes with boom position and working radius. A machine rated for a heavy load may not handle it safely at full reach. Small details matter.
Then walk the site. Measure gate width, overhead clearance, slope, and distance from trench edges. Soft ground after rain can reduce stability; wet clay may also limit traction. Check the machine’s ground pressure against the site’s soil conditions, and confirm that its transport dimensions fit the access route.
The U.S. Bureau of Labor Statistics recorded 1,075 fatal work injuries in construction and extraction occupations in 2023. That figure is not limited to equipment incidents, but it underlines why site hazards deserve careful review.
Compare the manufacturer’s load charts and operating limits with the conditions you observed, and ask a qualified equipment professional when the match is unclear. Specifications can look reassuring on paper. I would still recheck them after a site walk, especially when weather or ground conditions have changed.
A careful inspection starts before the engine turns. Walk around the machine and look for fresh paint, uneven panel gaps, cracked welds, and fluid beneath the frame. Check tires or tracks for cuts, uneven wear, and missing hardware. Small details matter. A clean exterior can hide hard use, so ask what was repaired and when.
On a used machine, compare the hour meter with service records and wear on pedals, pins, and control levers. Look for play in joints and listen for knocking, grinding, or slow hydraulic response during operation. Test each function under a realistic load, if conditions allow. Inspect hoses for bulges, abrasion, and damp fittings. A few drops may be ordinary residue, or an early warning; context matters. Have a qualified technician assess unclear faults rather than guessing from a walk-around.
New equipment deserves scrutiny too. Confirm that the delivered machine matches the agreed configuration, and inspect guards, lights, attachments, and fluid levels before acceptance. Start it from cold when practical, then watch the display for warning indicators and unusual temperature changes. Ask for the operating and maintenance manuals, warranty terms, and a clear explanation of service intervals. Even careful checks have limits. I once overlooked a loose connection because the yard was noisy; a second inspection would have caught it. When possible, document findings with dated photos and resolve open questions before signing.
| Tip | What to Inspect | Practical Evaluation | New and Used Considerations |
|---|---|---|---|
| 1 | Match machine capacity to the work | Compare operating weight, rated capacity, reach, attachment requirements, and site access limits with the actual job specifications. | For either condition, verify specifications against the machine identification plate and supplied documentation. Avoid relying on verbal estimates. |
| 2 | Review operating hours and service history | Record the hour-meter reading and compare it with dated service records, inspection reports, and component replacement invoices. | A new machine should have delivery and pre-operation documentation. For a used machine, investigate gaps or inconsistencies in its maintenance history. |
| 3 | Inspect the engine and fluid condition | Check for leaks, damaged hoses, unusual exhaust, low fluid levels, and contaminated or burnt-smelling oil. Consider laboratory fluid analysis for a used machine. | Inspect a new machine for transport damage or fluid leaks. On a used machine, ask about oil-change intervals and any engine repairs. |
| 4 | Test the hydraulic system | Operate all functions through their full range and listen for abnormal noise. Look for leaks, jerky movement, pressure loss, or cylinders that drift under load. | Test after the machine reaches normal operating temperature. Compare measured hydraulic performance with the machine's service specifications. |
| 5 | Examine the undercarriage or tires | Check track links, rollers, sprockets, idlers, and tension on tracked machines. On wheeled machines, inspect tire condition, wear patterns, and visible damage. | Ask for a wear assessment and estimated remaining service life. Replacement costs can be substantial and should be included in the ownership estimate. |
| 6 | Check structural components and attachments | Inspect the frame, boom, arm, bucket, blade, and attachment points for cracks, repairs, deformation, loose pins, and excessive play. | Request details of any structural repairs on used equipment. Confirm that included attachments are compatible and correctly rated for the machine. |
| 7 | Assess the cab, controls, and safety systems | Test the seat, visibility, gauges, alarms, lights, mirrors or cameras, seat belt, access steps, and emergency controls. | Verify that safety equipment is present and functional. Check that operator manuals and required safety information are available. |
| 8 | Perform a cold start and working test | Start the machine from cold when possible, observe start-up behavior, then operate it under representative conditions and check for abnormal heat, noise, or vibration. | Arrange a supervised demonstration on a safe site. A brief idle-only inspection may not reveal problems that appear under load. |
| 9 | Verify ownership and machine records | Match the serial or identification number on the machine to its documents. Review ownership, lien, damage, and repair records where available. | For used equipment, confirm the seller is authorized to transfer ownership and resolve any liens before payment. Keep copies of all transaction documents. |
| 10 | Calculate total cost and arrange an independent inspection | Estimate purchase price, transport, taxes, insurance, fuel, maintenance, repairs, and expected downtime over the planned ownership period. | Have a qualified independent technician inspect a used machine before purchase. For new equipment, review warranty coverage, exclusions, and service requirements in writing. |
The purchase price is only the first number to examine. Estimate how many hours the machine will work each year, then calculate fuel, scheduled servicing, tires or tracks, insurance, transport, and storage. Ask a technician to review likely wear items and service intervals. A hydraulic hose failure during a busy week can cost more than the repair bill; it can also delay a job. Downtime matters.
Compare financing offers by looking beyond the monthly payment. Check the interest rate, fees, required deposit, loan term, and any large final payment. A lower payment may mean paying for longer, while a short term can strain cash flow during a slow season. Keep room for unexpected repairs. Even a careful forecast is a guess, especially when hours and fuel use change from job to job.
Resale value can reduce the true cost of ownership, but avoid treating it as guaranteed income. Research recent sales of similar machines by age, operating hours, condition, and configuration. Keep maintenance records, repair invoices, and hour-meter readings; buyers may question gaps. Clean condition helps, but it cannot hide neglected wear. Keep records. Put purchase price, financing, operating costs, and estimated resale value into one spreadsheet, then test a lower resale estimate and higher repair costs. The result may be less tidy than expected. That is useful. It shows whether the equipment still fits your budget when conditions turn against you.
Buying heavy-duty construction equipment means evaluating the support behind it, not just its lifting capacity. Ask the dealer who handles breakdown calls after hours and how quickly a technician can reach your site. Request a written service process, including response times, inspection options, and travel charges. Vague promises are hard to use. Visit the service area if possible; organized tools and clean repair bays are useful clues, though not guarantees.
Tip: Check parts availability before signing. Ask about common wear items, such as filters, hoses, pins, and cutting edges, and confirm typical lead times. A stocked shelf helps. For unusual components, ask whether alternatives are compatible and documented. Keep a note of names and dates.
Give safety equal attention. Inspect seat belts, handrails, backup alarms, visibility aids, guards, and emergency stops in person. Compare manuals and inspection records with the machine’s intended work and the requirements in your region. Ask who trains operators and whether training covers attachments, slopes, and shutdown procedures. A thorough checklist can still miss a loose fitting. Recheck the equipment after delivery, since transport may shift or damage small parts.